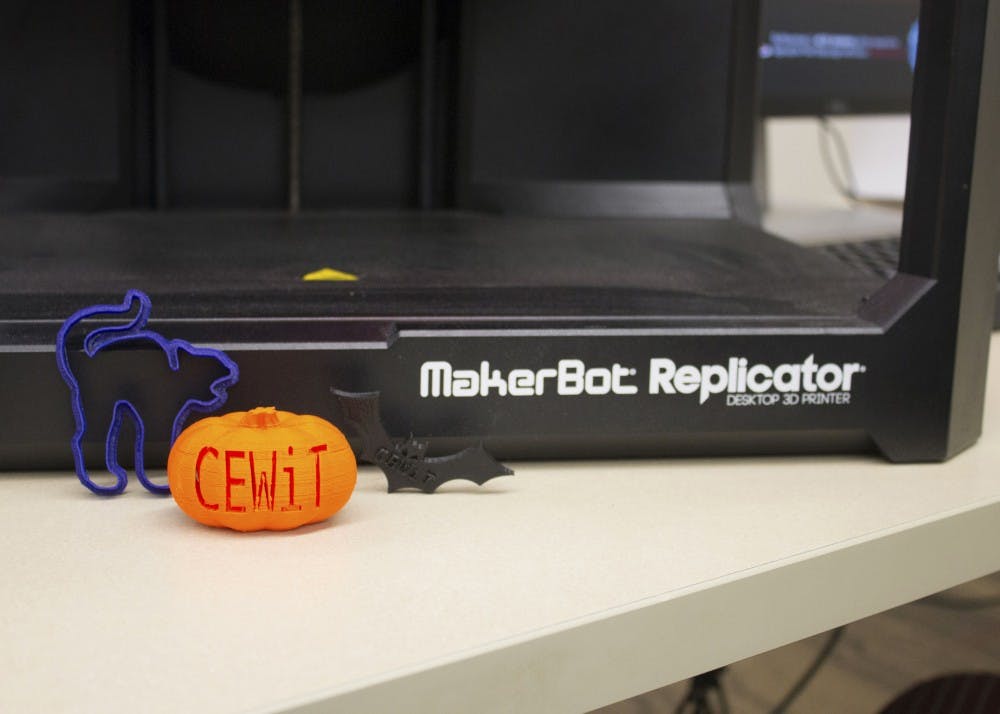
In a secluded room on the first floor of Wells Library, a small group of students, staff and faculty created pumpkins, bats and cats out of thin air.
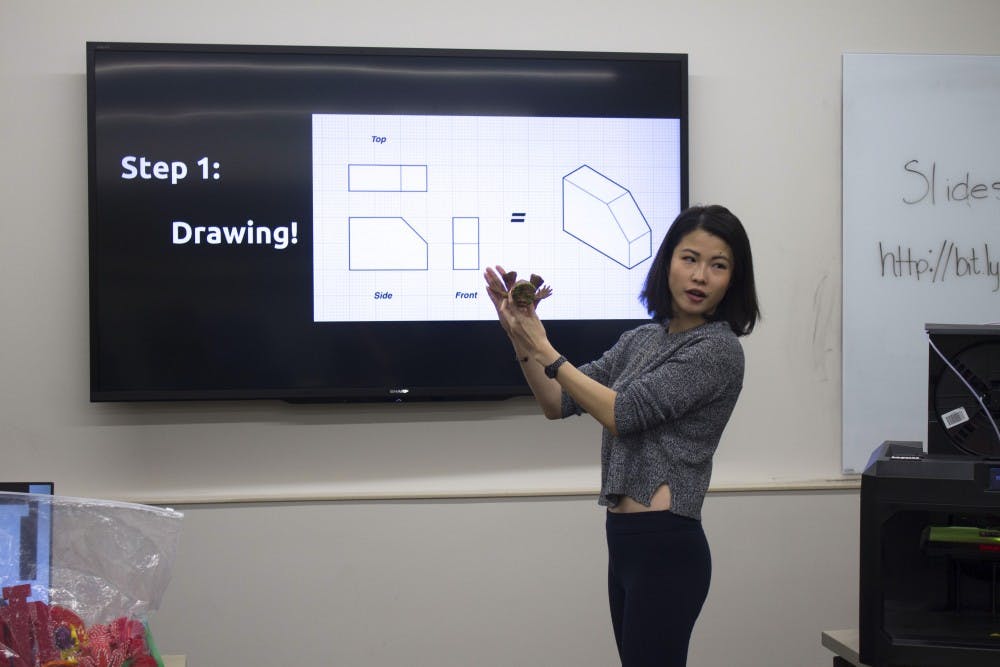
With the help of two students from the Center of Excellence for Women in Technology,participants were able to experiment with the 3-D printing process and make their own creations at a 3-D Print and Treat instruction session.
Joey Huang, a Ph.D. student in the School of Education, said 3-D printing is used for multitude of reasons in many different professions.
“It depends on what field you’re studying or working in, but there are so many things you can do with 3-D printing,” she said. “Teachers can print off objects to help teach math concepts or geography, people in the fashion industry can print off clothes and a lot of businesses use it for making prototypes.”
All IU members and even nonmembers can use the 3-D printing technology available on campus, such as in the 3-D printing lab on the fourth floor of Wells Library.
“It’s quick, it’s small and it’s cheap,” Huang said. “A lot of people can use it to their advantage.”

Participants spent a couple hours learning the process of 3-D printing, from sketching ideas to transferring the ideas to software, to actually seeing an object being printed off in front of them. Although they were not able to see their own objects printed off due to time constraints, Huang wanted to print off an example to show what their work would look like in the end.
Overall, the process becomes easier with experience, Huang said.
“It should be enjoyable, but it can definitely be frustrating,” she said.
Here’s the simplified step-by-step guide to 3-D printing
- Brainstorm an idea.
Make sure the idea is simple enough to sketch out, and consider that bigger and solid items will take longer to create and will cost more.
2. Sketch out the idea.
Fold a piece of computer paper hamburger-style two times, so that there are four separate squares on the sheet of paper. Use one square to sketch out the top of the object as if looking at with a bird’s eye view, one square to sketch out the front, as if looking directly at it, and two squares to sketch the two sides. The sketches do not need to be detailed, Huang said.
3. Transfer the sketch ideas online using 3-D computer-aided design modeling.
Sign up via Facebook or Google account to use TinkerCad, an easy, entry-level 3-D printing interface. Premade designs are sometimes available to then tinker with, or new designs can be made. This allows the viewer to look at the object on the computer and design it. Save the design when it is finished and this will convert it to a code to send to the 3-D printer software.
4. Send to 3-D printer software to generate gcode, the code that will transfer the object to the printer.
This can be done at IU using a 3-D printing application called MakerBot. This will allow the object to be transferred to the 3-D printer to begin the actual 3-D printing process.
5. Send to 3-D printer.
There is the 3-D printing lab in Wells Library, as well as other resources throughout campus, such as The MILL — Make, Innovate Learn Lab — in the School of Education and the MAD Lab in the School of Art and Design.
6. Wait for the design to be printed.
Small, simple designs will take about 15 to 25 minutes to make and will cost about $5-10. Larger and more solid designs can take multiple hours and can be more costly.


